
Understand An Experimental Protocol About Evaporation
Subject: Science
Grade: Seventh grade
Topic: Designing Experiments
Please LOG IN to download the presentation. Access is available to registered users only.
View More Content


Understanding Evaporation through Experimental Design
– Define Experimental Design
A method scientists use to conduct research.
– Importance in scientific studies
It’s crucial for valid, reliable, and replicable results.
– Evaporation: A case study
Evaporation is the process of liquid turning into vapor.
– Designing an evaporation experiment
Steps to create a fair test to study evaporation.
|
This slide introduces students to the concept of experimental design within the context of studying evaporation. Begin by defining experimental design as a structured approach scientists take to conduct investigations and answer questions. Emphasize its importance for obtaining valid and reliable results that others can replicate. Use evaporation as a specific example to illustrate how experimental design is applied in real-world scientific studies. Guide students through the steps of designing an experiment to study evaporation, including forming a hypothesis, identifying variables, and establishing controls. Encourage them to think critically about how to set up an experiment that fairly tests the effects of different factors on the rate of evaporation.
Understanding Evaporation
– Evaporation: liquid to vapor
– It’s when a liquid heats up and becomes a gas.
– Key in the water cycle
– Water cycle: evaporation, condensation, precipitation.
– Daily life evaporation examples
– Puddles drying, clothes on a line.
– Observing evaporation
– Set up an experiment to watch evaporation in action.
|
Evaporation is a fundamental concept in understanding the water cycle and the state changes of matter. It occurs when liquid water absorbs heat and changes to a vapor or gas. This process is part of the water cycle, which includes evaporation, condensation, and precipitation. Students encounter evaporation in their daily lives, such as when puddles dry up or when wet clothes dry on a line. To grasp this concept, students can set up simple experiments, like observing a wet cloth drying or measuring water levels in an open container over time. These activities will help them understand the factors affecting evaporation, such as temperature, surface area, and air movement.
Designing an Evaporation Experiment
– Formulate the research question
How does evaporation occur under various conditions?
– Construct a hypothesis
Make an educated guess on the evaporation process outcome.
– Identify different variables
Independent: conditions affecting evaporation; Dependent: rate of evaporation; Controlled: constants in the experiment.
– Understand variable roles
Independent variables are changed to observe effects on the dependent variable, while controlled variables remain constant.
|
This slide introduces students to the foundational steps of designing an experiment on evaporation. Start by guiding students to ask a clear research question. Next, help them understand the importance of a hypothesis, which is an educated prediction of the experiment’s outcome. Discuss the three types of variables: independent variables, which are changed by the experimenter; dependent variables, which are observed and measured; and controlled variables, which are kept constant to ensure a fair test. Emphasize the role each type of variable plays in an experiment. Encourage students to think of examples of each variable type in the context of evaporation. This will prepare them for designing their own experiments and understanding how to control for variables to obtain reliable results.
Setting Up the Evaporation Experiment
– List of materials needed
– Beakers, water, heat source, thermometer, and timer
– Review lab safety rules
– Wear safety goggles, no loose clothing, follow instructions
– Step-by-step experiment guide
– Fill beaker, measure water, heat, start timer, record temp changes
– Documenting observations
– Keep a log of temperature and time at regular intervals
|
This slide is designed to prepare students for conducting an evaporation experiment. Start by ensuring all materials are gathered and ready for use. Emphasize the importance of lab safety, including wearing protective gear and understanding the potential hazards. Walk students through the procedure step by step, from setting up the equipment to the method of heating and timing the evaporation process. Encourage meticulous documentation of observations, as this is crucial for understanding the results. The teacher should prepare different scenarios for students to explore, such as varying the heat source or the amount of water, to see how these variables affect evaporation rates.
Observation and Data Collection in Evaporation Experiments
– Key observations in evaporation
– Note changes in water level, temperature, and time
– Accurate data recording
– Write down measurements precisely as they are taken
– Utilizing charts for data
– Charts help visualize data trends over time
– Organizing data with tables
– Tables categorize information for clarity and analysis
|
This slide focuses on the critical steps of observing and recording data during an evaporation experiment. Students should be instructed to monitor specific variables such as water level decrease, temperature changes, and the time duration of the experiment. Emphasize the importance of recording data accurately and immediately to avoid errors. Introduce the use of charts and tables as effective tools for organizing and visualizing data, which will aid in the analysis and understanding of the experiment’s results. Encourage students to be meticulous and systematic in their approach to ensure the reliability of their findings.
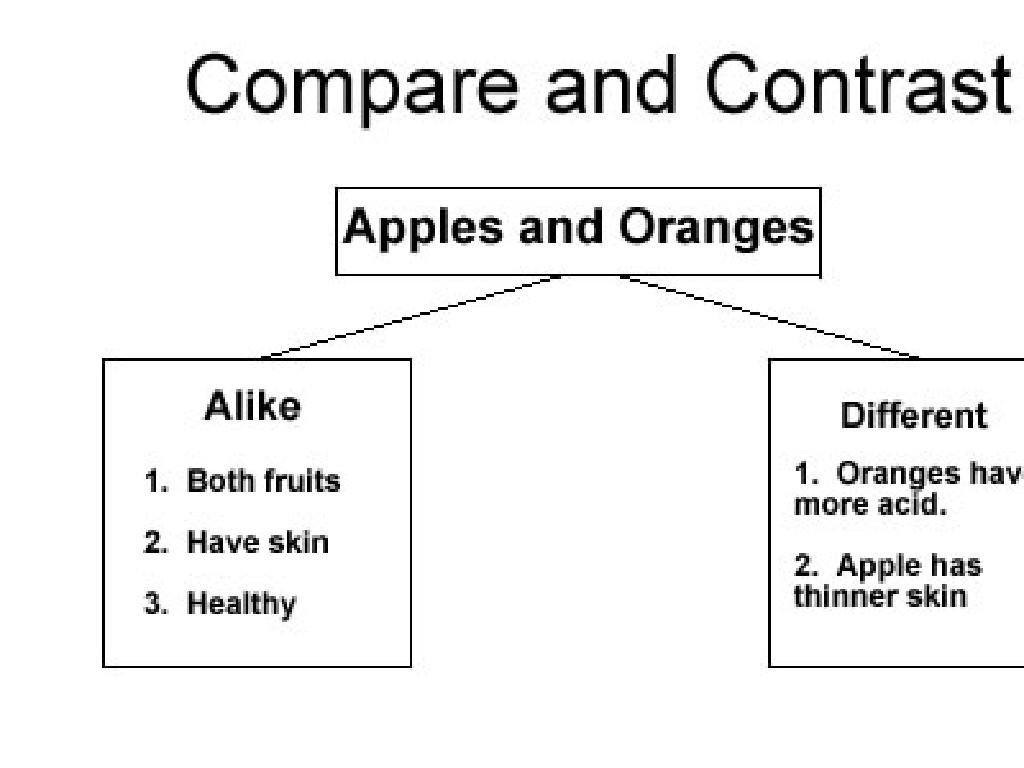
Analyzing Experimental Results on Evaporation
– Comprehend the findings
– Understand what the results tell us about evaporation
– Compare with the hypothesis
– How do our results align or differ from our initial predictions?
– Discuss errors or improvements
– Identify any mistakes made and how we can enhance the experiment
– Reflect on the experiment’s outcome
– Consider what we’ve learned and how it applies to real-world situations
|
This slide aims to guide students through the critical analysis of their experimental results on evaporation. Students should first understand what their findings indicate about the process of evaporation. Next, they should compare these results to their original hypothesis to see if it was supported or refuted. It’s also crucial to discuss any potential errors that could have occurred during the experiment and how these could be rectified in future experiments. Lastly, students should reflect on the overall outcome of the experiment and consider how their new understanding of evaporation could be applied to real-world scenarios or further scientific inquiry. Encourage students to think critically and to understand that errors and improvements are a natural part of the scientific process.
Evaporation: Conclusions & Applications
– Key learnings about evaporation
– Evaporation is a process where liquid turns into gas.
– Evaporation’s role in daily life
– It’s crucial for water cycle, cooling mechanisms.
– Applying our evaporation findings
– Use knowledge to conserve water, improve systems.
– Encouraging further inquiry
|
In this slide, we summarize the key points learned about evaporation, emphasizing its significance in the natural water cycle and its applications in cooling technologies. We discuss how understanding evaporation can lead to water conservation strategies and efficiency improvements in heating and cooling systems. Encourage students to think about how they can apply this knowledge in their own lives and to consider further questions they might have about the evaporation process and its effects on the environment. This will help them see the relevance of scientific concepts in real-world contexts and inspire curiosity for continued learning.
Class Activity: Mini Evaporation Experiment
– Conduct a mini evaporation experiment
– Gather materials: cups, water, measure, heat
– Set objective: observe evaporation rates
– How does water disappear over time?
– Experiment with various conditions
– Test effects of heat, surface area, and airflow
|
This class activity is designed to give students a hands-on experience with the scientific concept of evaporation. Provide each student or group with the materials needed. The objective is to observe how quickly water evaporates under different conditions such as varying temperatures, surface areas, and airflow. Students should measure the amount of water at the start and end of the experiment to track the rate of evaporation. Possible variations of the experiment for different groups could include: using different amounts of water, placing cups in different locations (sunny, shaded, indoors, outdoors), and using fans or no fans to simulate wind. Encourage students to make predictions, take detailed notes, and discuss their findings.